Wringr Cucumber Testing
In today's fast-paced software development environment, ensuring that user interfaces work flawlessly across multiple platforms and devices is essential. Automated UI testing offers a reliable and efficient solution to validate application behavior. Among the many tools available, Playwright and Cucumber are notable for their robustness and flexibility. When integrated with the Wringr platform, they provide a powerful solution for comprehensive UI testing.
One of the key benefits of using the Wringr platform is its ability to generate Cucumber feature files. This functionality simplifies the test creation process, allowing teams to quickly define their test scenarios using Gherkin syntax.
With Glean, you can effortlessly record sessions and generate Cucumber files from these sessions by default, streamlining your UI testing workflow.
Viewing Session Steps
Navigate to Your Project:
- Go to the "Projects" section in the left navigation panel.
- Select your project from the list, such as "Google Recordings".
Select Mode:
- Ensure you're in the correct mode: "Replay", "API", or "Test Suite".
- Choose the appropriate tab for your testing type: "Web" or "Mobile".
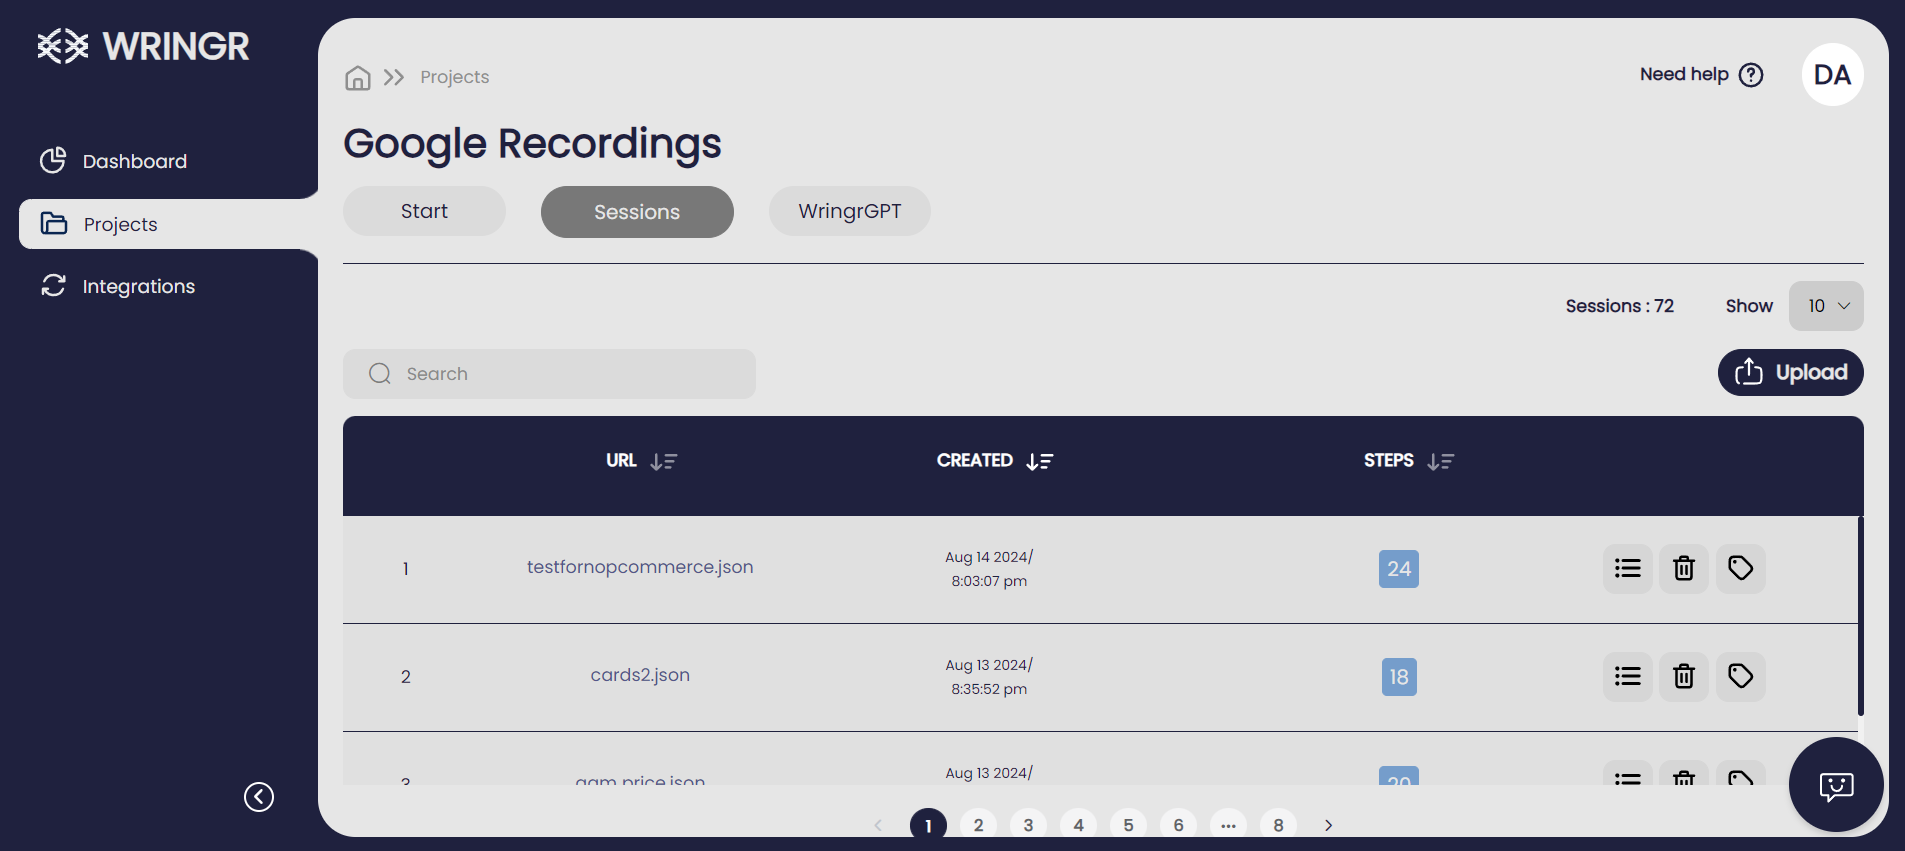
View Session List:
- A list of sessions for the selected project will be displayed. The table shows URL, browser, creation date and time, and session duration.
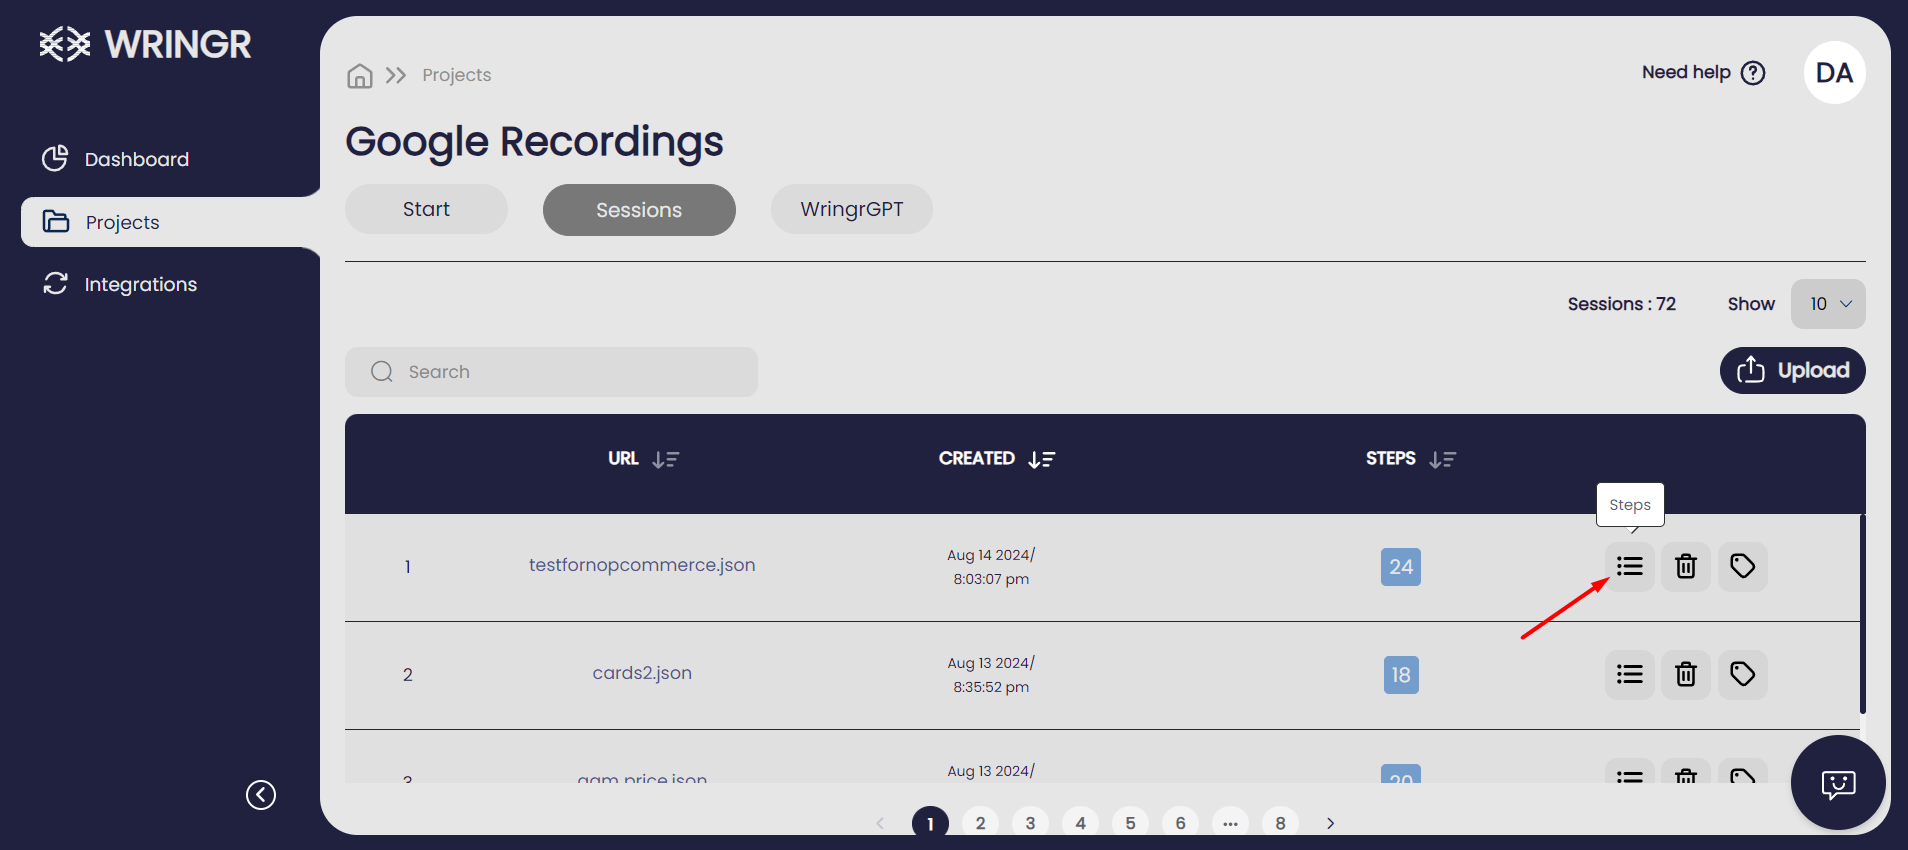
Access Session Steps:
- On the right side of each session, you'll see several icons.
- Click the "Steps" icon to view all the steps from the session.
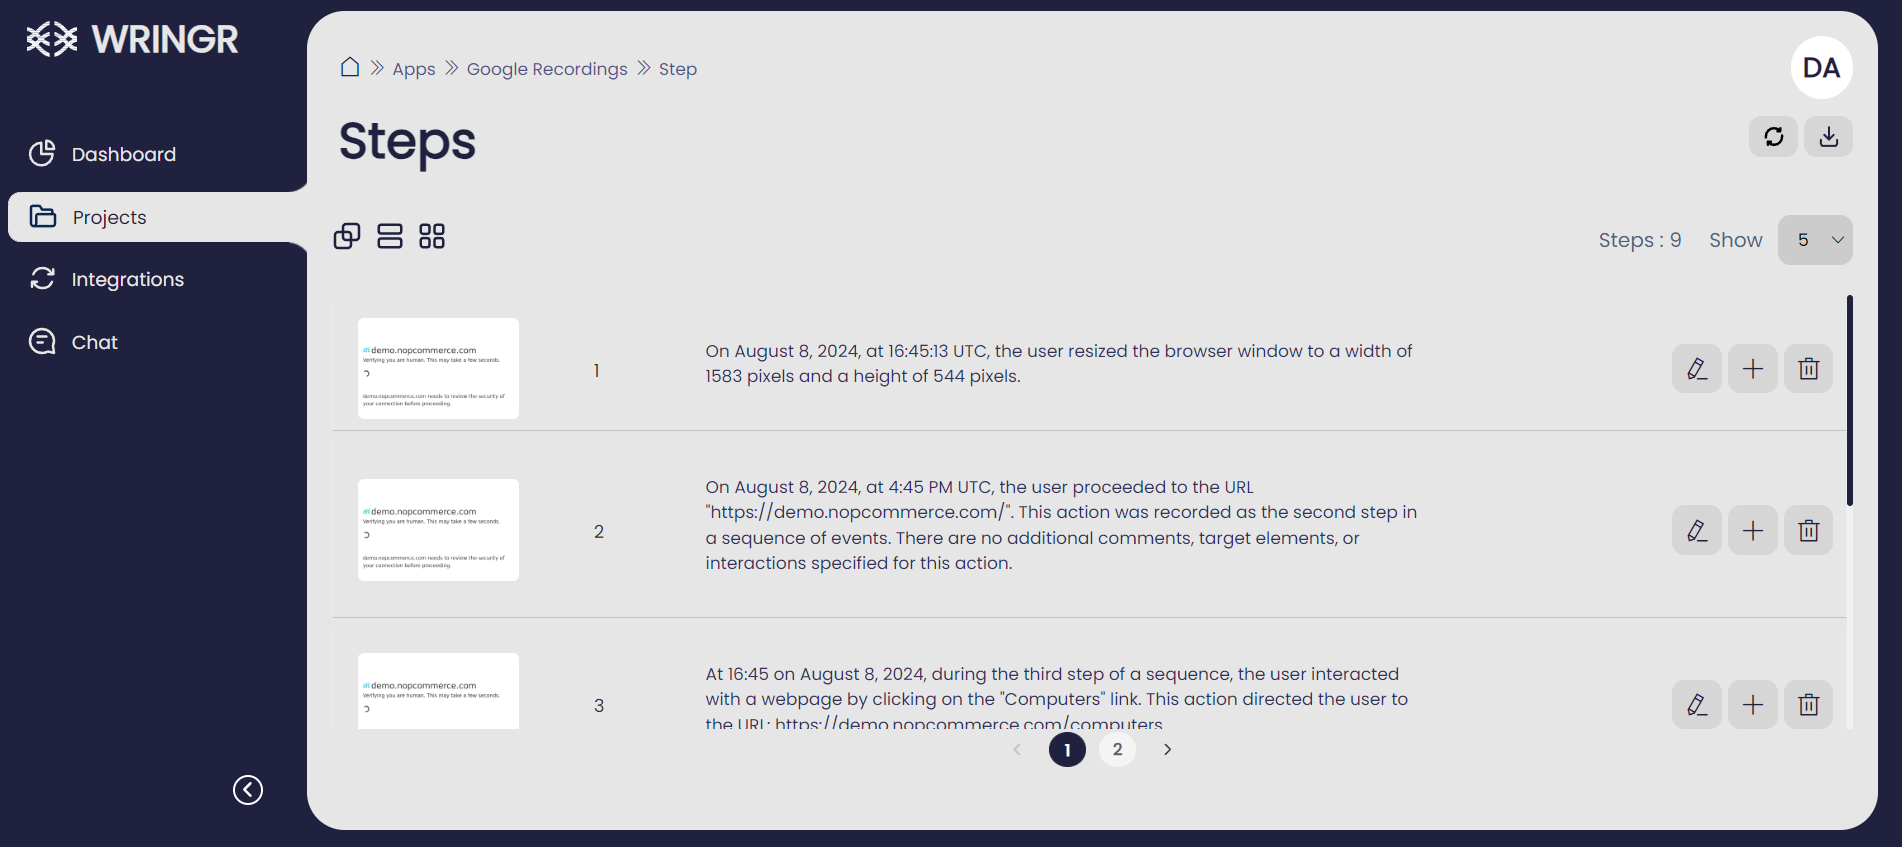
Review and Analyze Steps
The "Steps" panel will display a comprehensive list of each action taken during the session, providing an organized overview of the workflow. Each step is clearly listed with details about the specific actions performed, allowing you to easily review the sequence of events. This organized layout helps in identifying any issues or inconsistencies in the session. You can also edit or delete individual steps using the icons next to each entry for further refinement and accuracy.
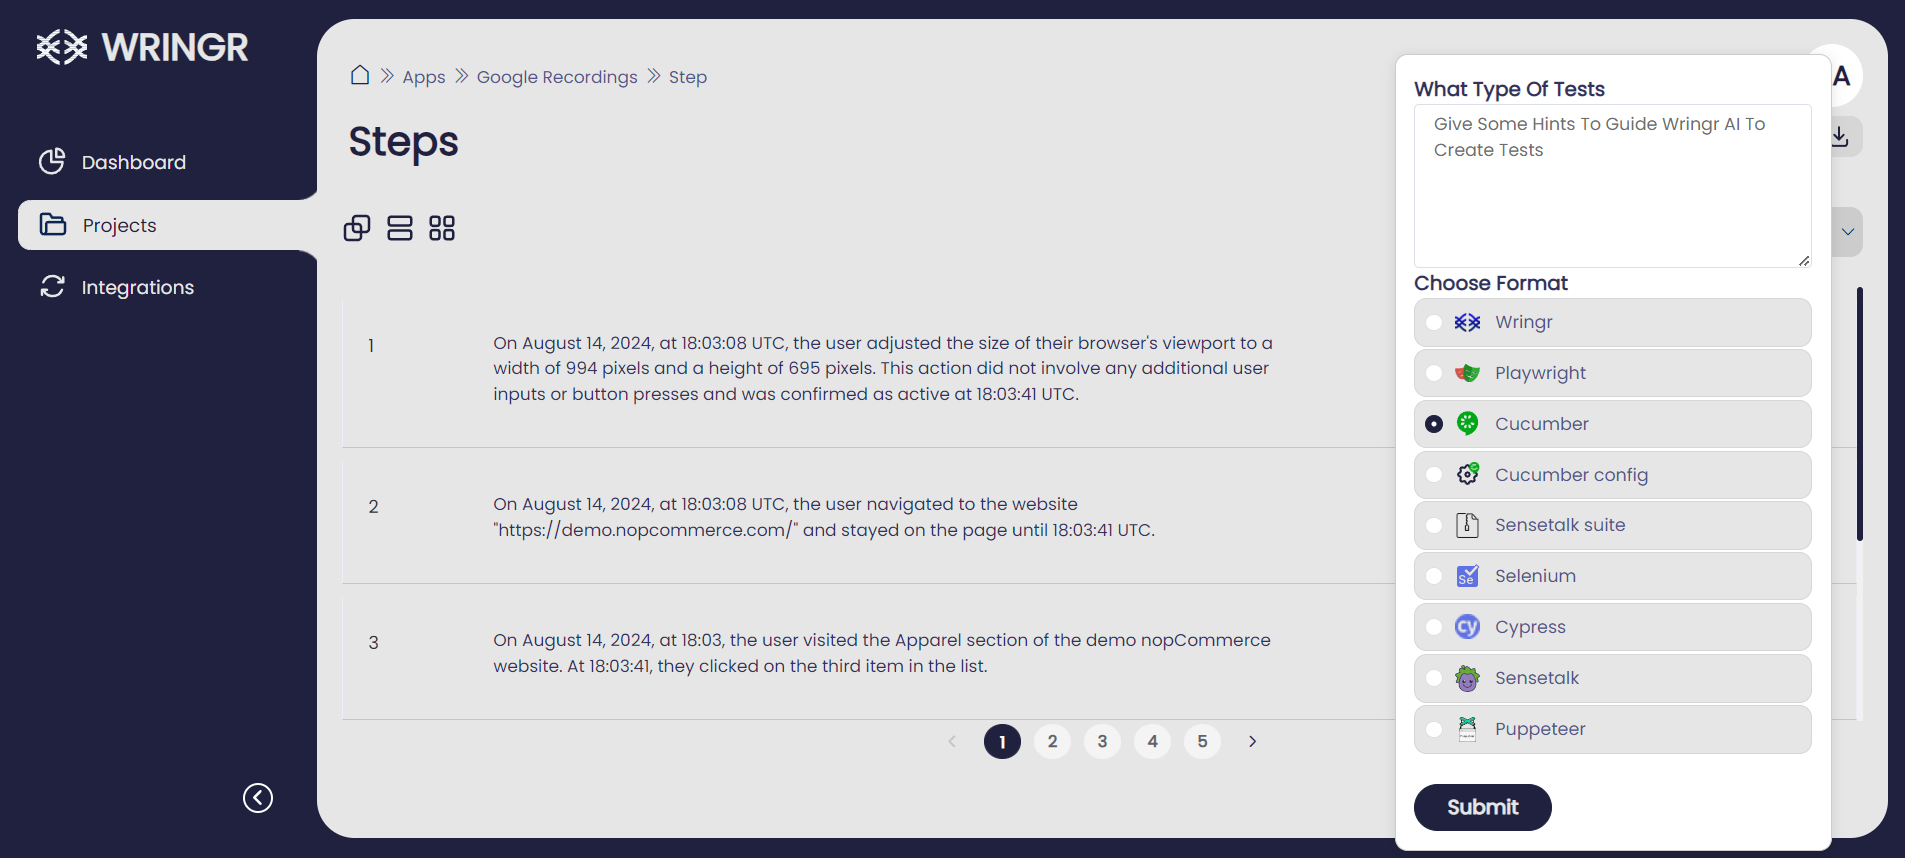
In the top right corner of the "Steps" panel, you will see a download button. Clicking this button will open a list of possible download options for your session data. To download the Cucumber script file, look for the third option in the list, which is labeled with the Cucumber icon. Selecting this option will allow you to download the session steps as a Cucumber feature file, which you can then use for automated testing with Cucumber.
Once you have downloaded the zip file, follow these steps to set up and run your tests:
Extract the Zip File:
- Locate the downloaded zip file on your computer.
- Right-click on the file and select "Extract All" to extract its contents to a folder.
Navigate to the Extracted Directory:
- Open your terminal or command prompt.
- Use the
cdcommand to navigate to the directory where the files were extracted. For example:cd path/to/extracted/directory
Install Dependencies:
Once in the extracted directory, run the following command to install the necessary dependencies:
npm install
Run the Tests:
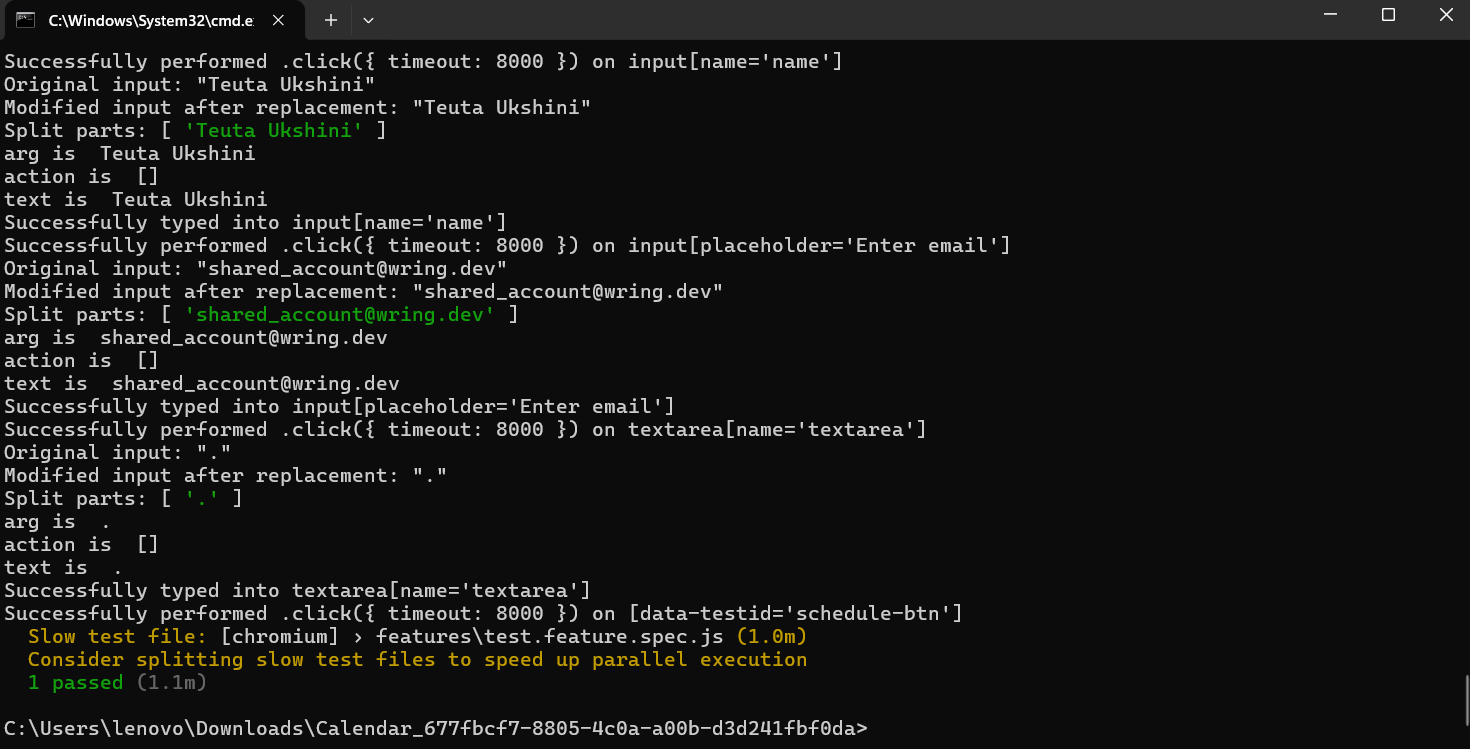
After the dependencies are installed, execute the following command to run the tests:
npm test
View Test Runs Visually:
The screenshot shows the visual output of the Playwright command npx playwright show-trace, which is used to visualize traces of test executions.
Breakdown
Top Timeline
The top of the screenshot displays a timeline of events during the test execution, with a sequence of small thumbnails representing different stages or steps in the test. Each step has a timestamp showing the duration of that particular action.
Left Panel (Actions and Metadata)
Actions:
- This panel lists the different steps of the test script executed sequentially, such as "Before Hooks," "Given I navigate to the page," "When I make a GET call to," "When I click on the element," and "After Hooks."
Metadata:
- Each action is accompanied by a duration indicating how long it took to execute.
Central Panel (Screenshot and Action Details)
The main central area shows a screenshot captured during one of the steps of the test. This specific screenshot appears to capture the state of a web page after a search for "SAP" on Google, displaying the search results page with information about SAP.
Tabs at the Bottom (Locator, Call, Log, Errors, Console, Network, Source, Attachments)
- Locator: Provides details about the locator used for actions.
- Call: Shows the function calls made during the test.
- Log: Displays logs of actions performed during the test.
- Errors: Lists any errors encountered.
- Console: Shows console logs.
- Network: Captures network requests and responses.
- Source: Provides the source code or relevant parts of the script.
- Attachments: Shows any attachments related to the test.
Summary
The npx playwright show-trace command generates a visual and interactive representation of the test trace, allowing users to see the sequence of actions, view screenshots at each step, and inspect detailed logs and metadata for each action. This tool is useful for debugging and understanding the flow and outcomes of automated tests.
Following these steps in your terminal or command prompt will ensure that the Cucumber files are properly set up, dependencies are installed, and tests are executed to validate the functionality of your application.
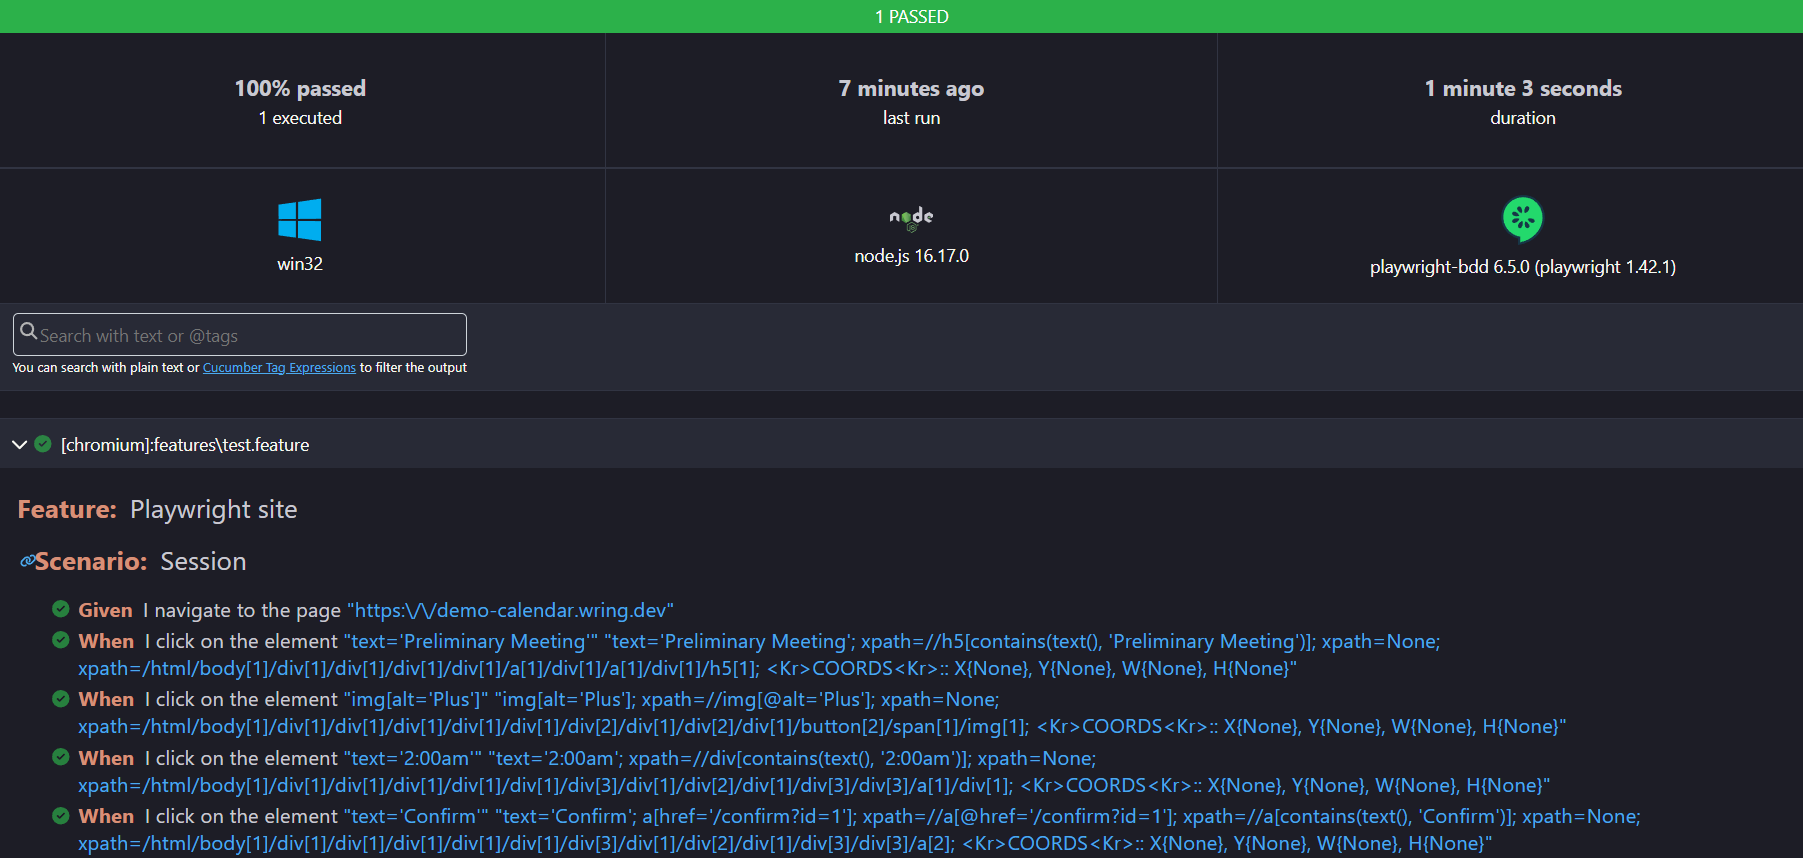
and this format provides a summary of executed scenarios, their steps, and the overall test duration.
With Wringr, you can easily create Cucumber feature files right within the platform. These files let you define your application's behavior clearly and concisely. Once you've created the feature files, you can run them using Cucumber's test runner to check if your application is working as expected. This seamless integration helps you quickly spot and fix issues before they turn into bigger problems.
By creating and running Cucumber files within Wringr, you can clearly define how your application should behave and ensure it meets all your requirements. This process fosters collaboration, transparency, and efficiency, ultimately leading to a higher quality product.