User session recording
Wringr AI with Wringr Recorder
Using the "Wringr Recorder" in Chrome DevTools can be an efficient way to automate and document your UX testing. This tool allows you to record user interactions with your web application and replay them to verify functionality or identify issues. Here's a step-by-step guide on how to use the Recorder:
1. Launch Chrome
- Open Google Chrome.
- Navigate to the web application you want to test.
2. Open DevTools
- Right-click on the page and select "Inspect."
- Alternatively, press
Ctrl+Shift+I(for Windows) orCmd+Opt+I(for Mac) to open DevTools.
3. Access the Recorder Tool
- In the DevTools panel, find the "Wringr Recorder" tab.
- If you don't see the "Wringr Recorder" tab, click on the three vertical dots in the top right corner of the DevTools panel, select "More tools," and then choose "Wringr Recorder."

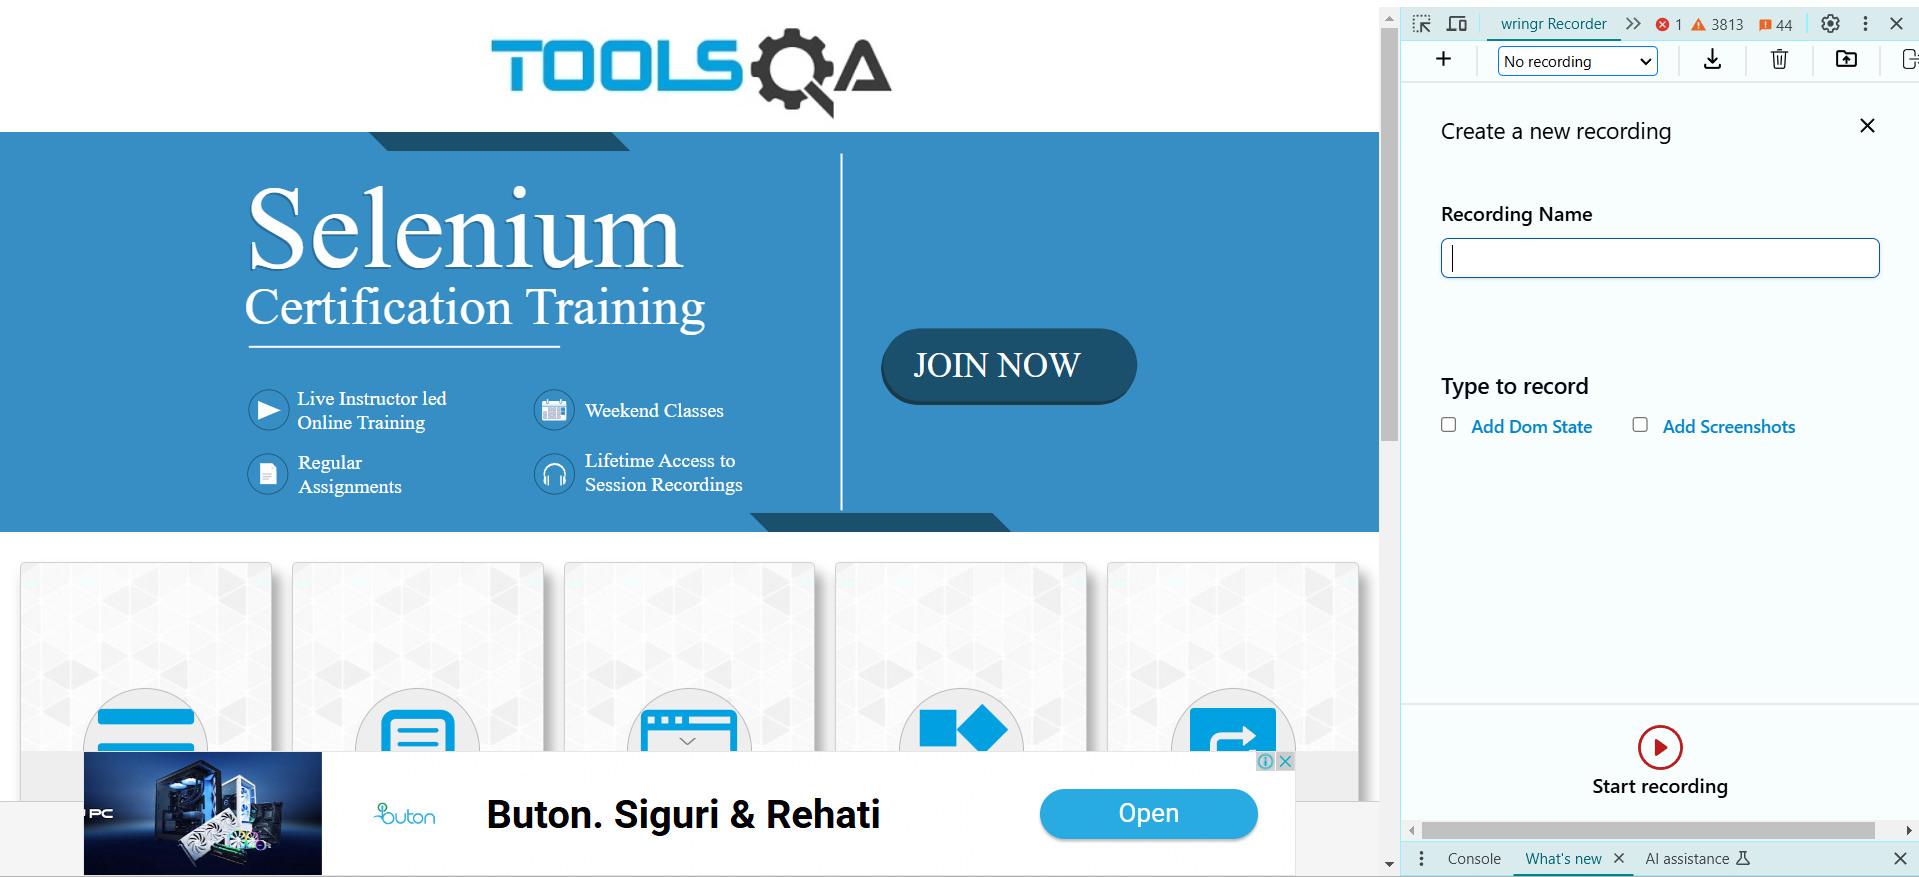
4. Start Recording
Click on the "Start recording" button:
- This button is indicated by the red circle in the screenshot.
Name Your Recording:
- A dialog box will appear where you can enter a name for your recording. This helps in organizing and identifying your test sessions later.
- Enter a descriptive name in the "Recording Name" field (e.g., "User Login Test" or "Add to Cart Test").
5. Begin Interaction Recording
Start Interaction Recording:
- After naming your recording and configuring any optional settings, start interacting with your web application.
Perform Actions:
- Perform the actions you want to test, such as clicking buttons, entering text into fields, or navigating through the site. The Recorder tool will capture these interactions.

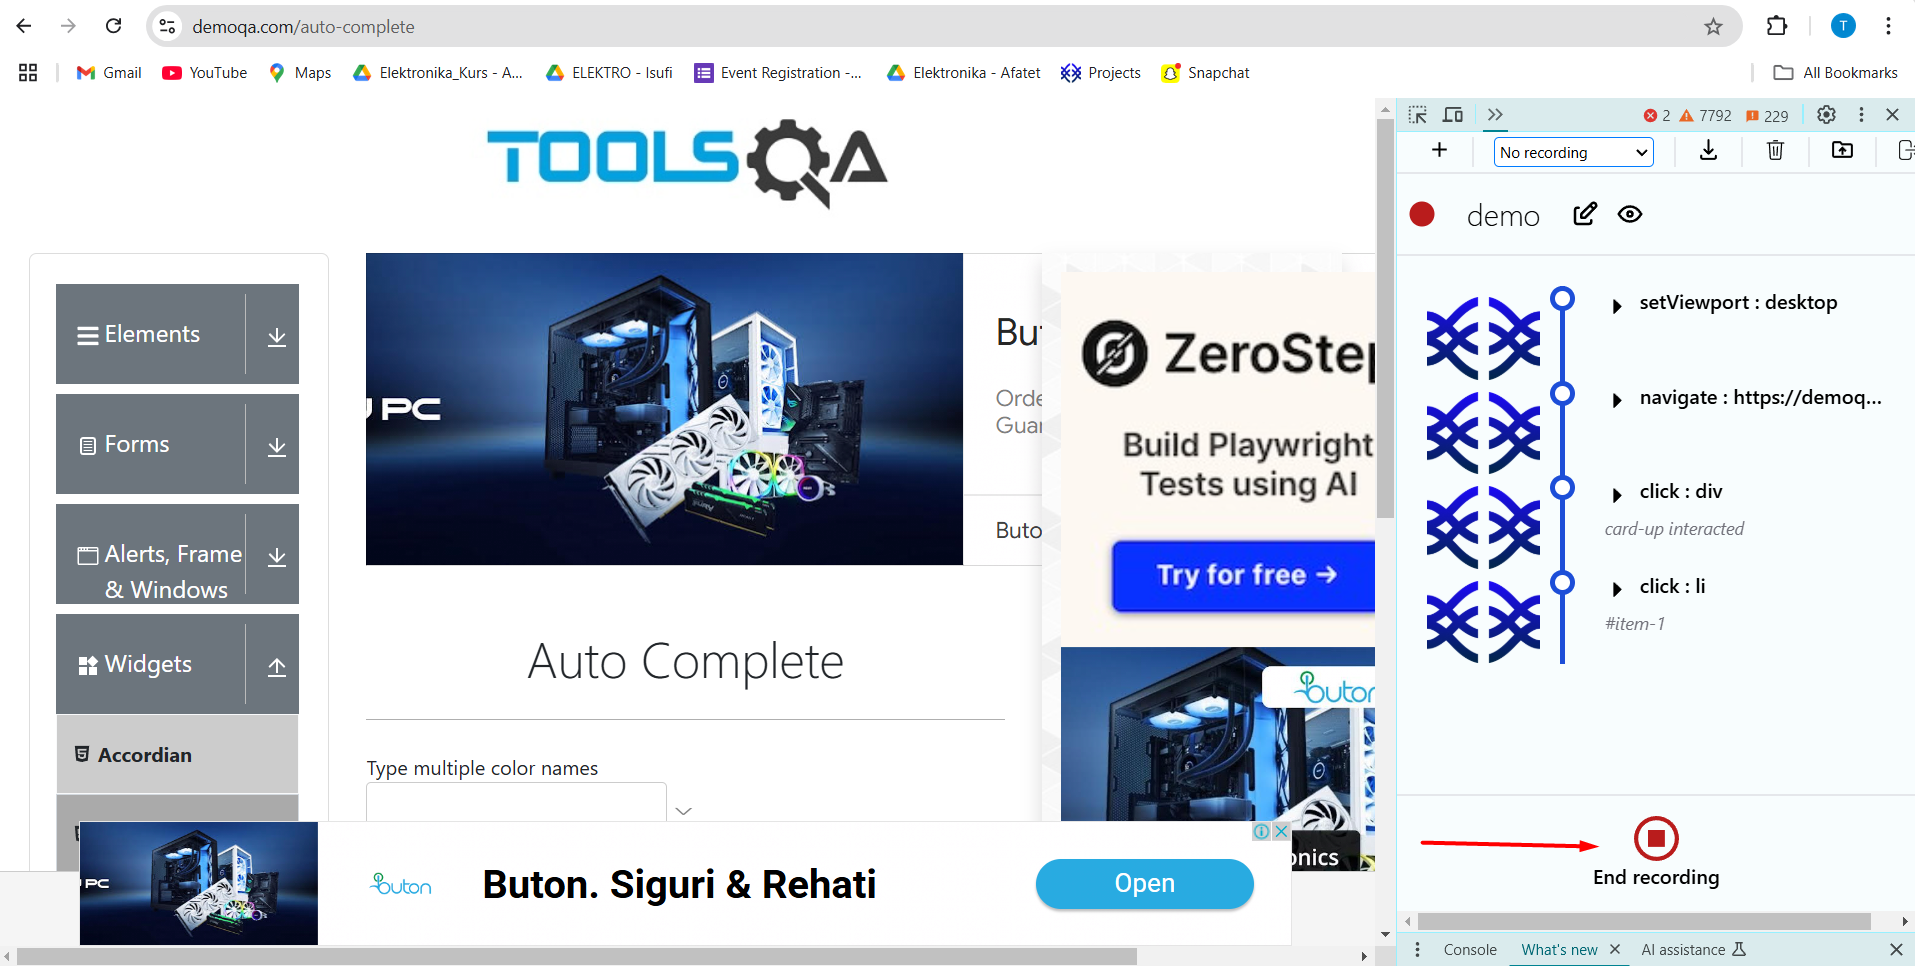
6. Stop Recording
- Stop Recording:
- Once you have completed the necessary interactions, click the "Stop recording" button.
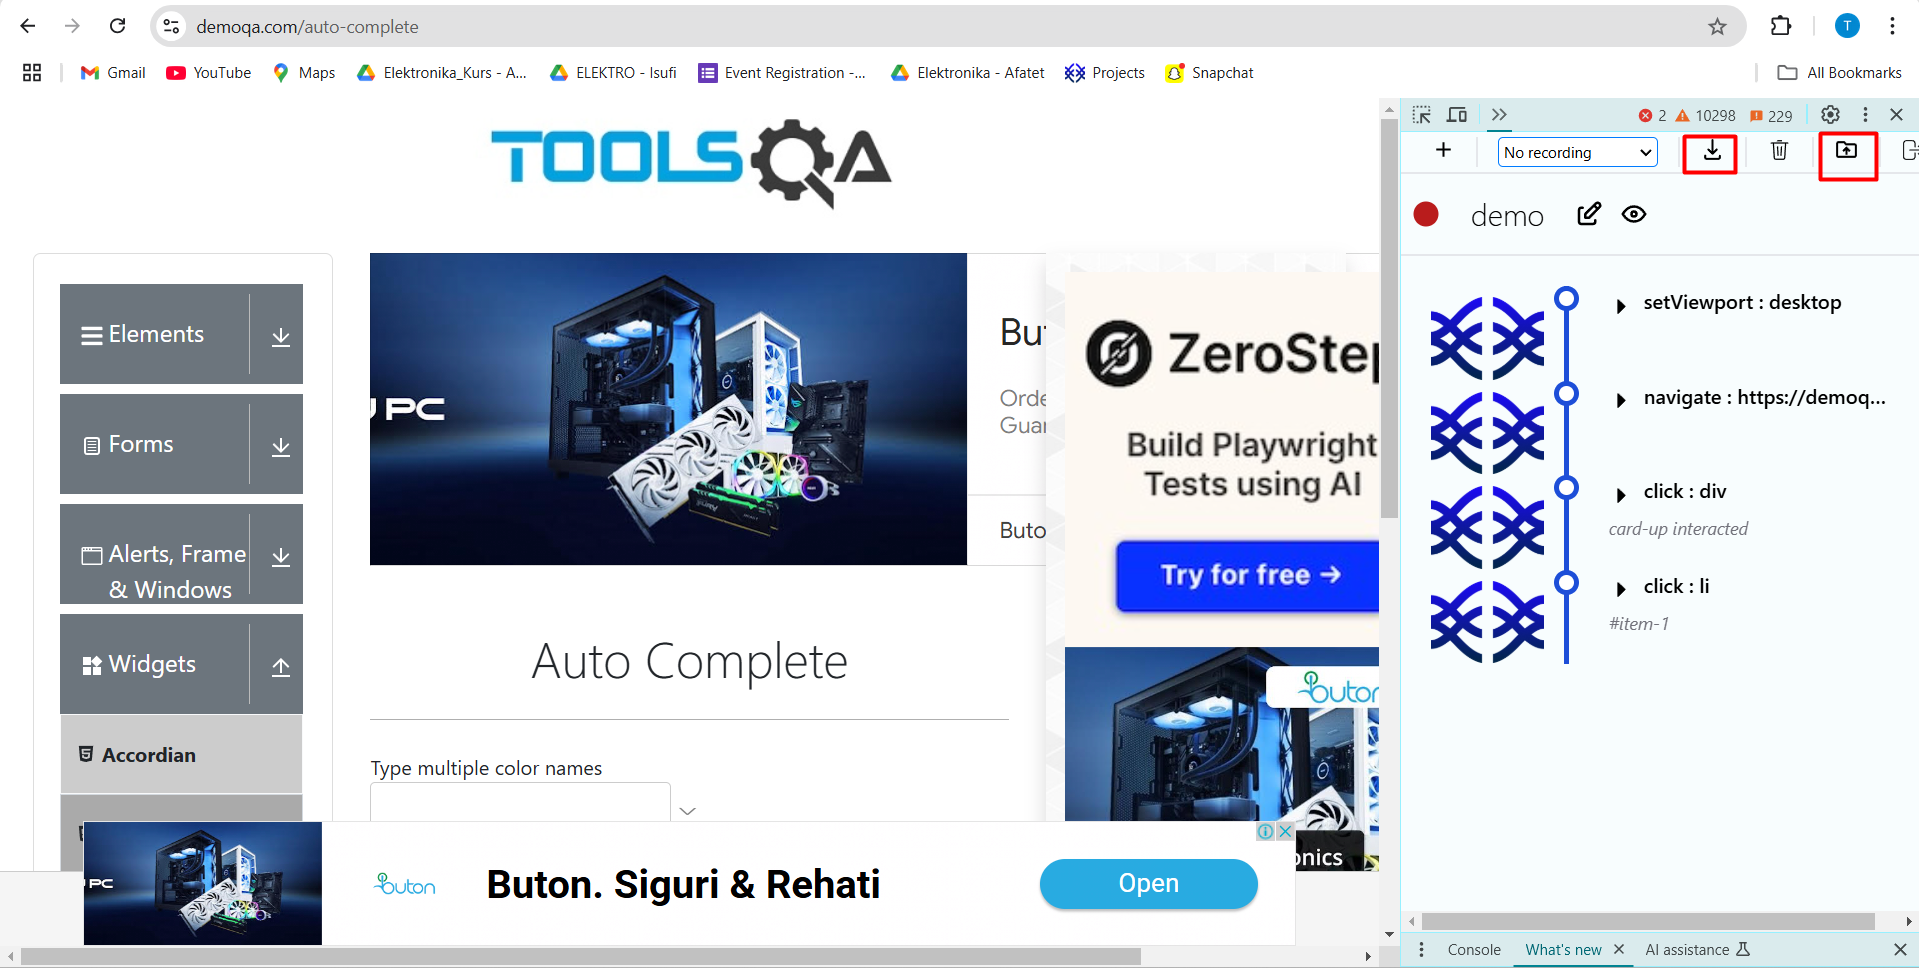
7. Exporting the Recording
Export
- To document or share the recorded session, you can export it.
- Click on the "Export" button in the DevTools Recorder panel.
- You can also send it directly to Wringr AI and execute it.
8. Integrating with Wringr AI
Once the recording is complete, you can seamlessly integrate it into Wringr AI for further analysis and debugging.
Example:
To learn more about the Wringr recorder, please refer to the relevant section.